BEST PRACTICES – PHOTOS
Seller Guide
Approx. 10 minute read
DO'S AND DON'TS
When uploading your products to the website, it's essential to present them in the best possible way. High-quality, clear photos help customers understand exactly what they’re getting—building trust and increasing the likelihood of a purchase.
But you're not just selling a product—you're selling the experience it brings. Whether it's a stylish addition to a wardrobe or a beautiful piece for the home, inspiring context photos (like lifestyle shots or styled settings) help customers imagine how your product fits into their lives. This emotional connection can significantly boost interest and drive more conversions.
Tip: Use crisp, well-lit images and include both clean product shots and aspirational photos in real-life settings to elevate your listings and turn browsers into buyers.
DO'S
• Neutral backgrounds for the first picture
• The product should be close up and in focus
• Please make sure that it is the right size in measurements
• High quality pictures
• Add context pictures when it is being used
• Add detail pictures on the material or other essentials
• Please consider the lightning
DON'TS
• Colored background
• The product is small and not in center
• The product is cut off due to wrong file measurements
• Blurry low quality pictures
• No context pictures
• Only one picture
• Dark and bad lighting
QUICK GUIDE
Add at least 3 photos for the best results in this following order:
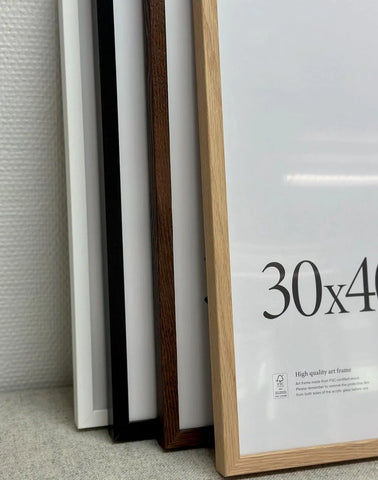
1. Product picture with neutral background
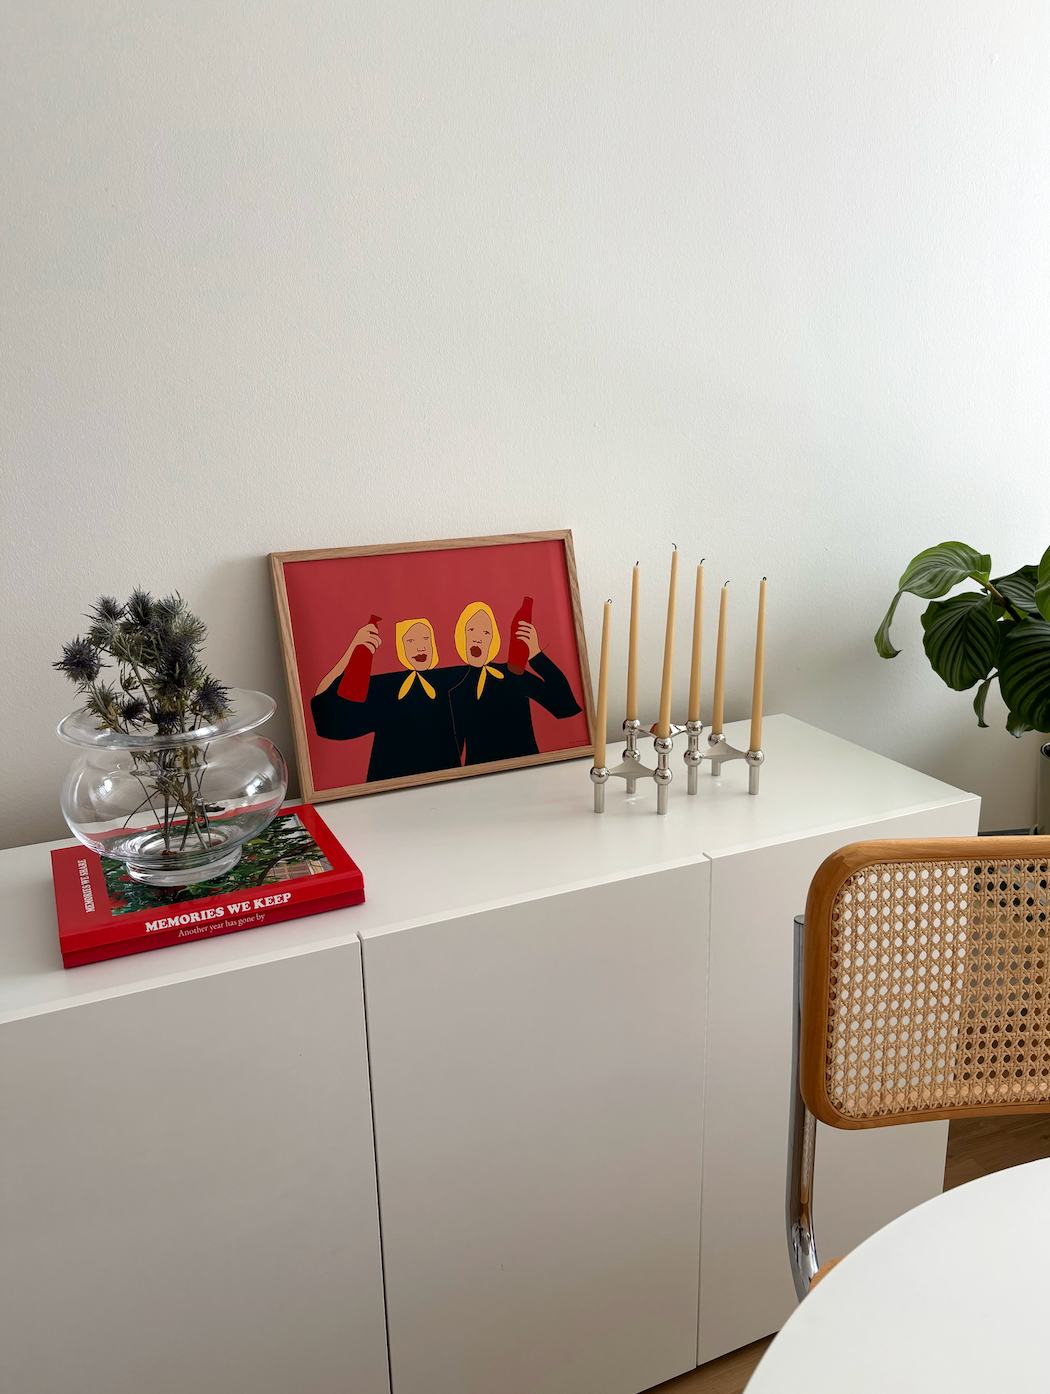
2. Context photo in an inspiring setting
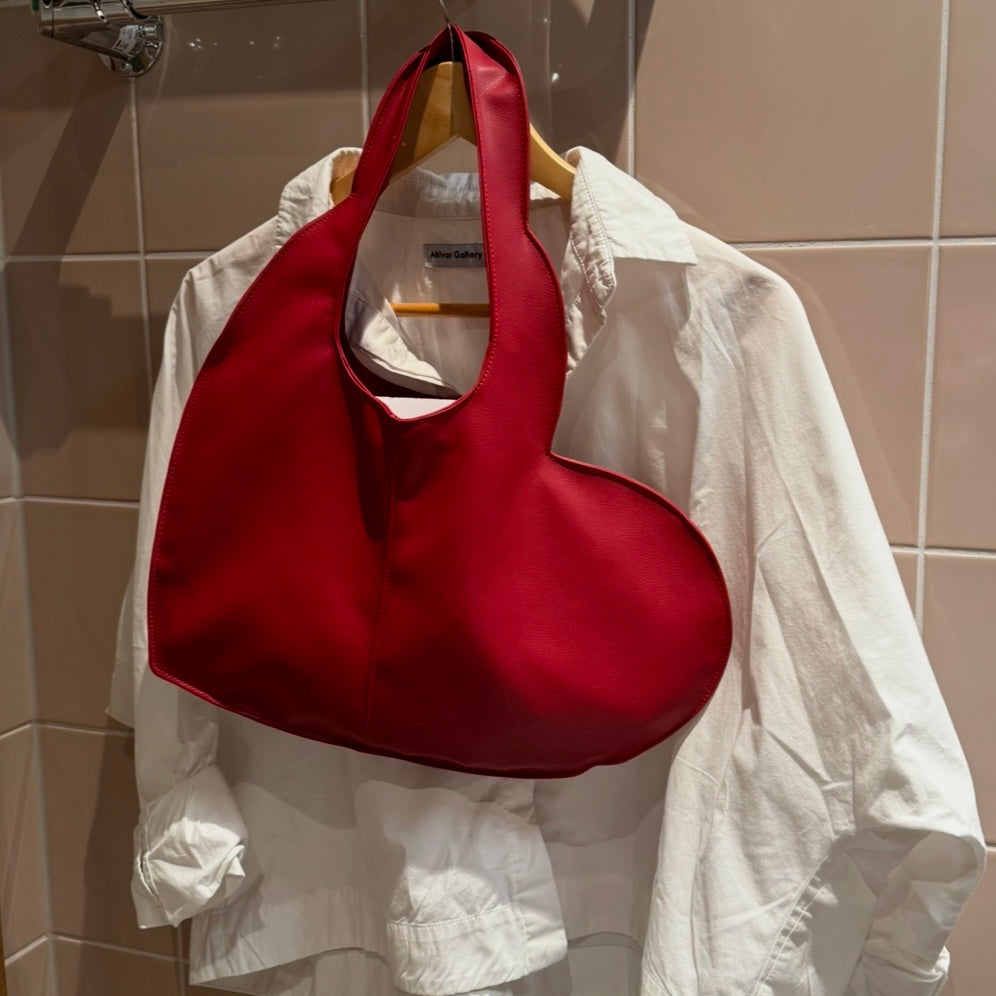
3. Detail photo of the material and product details
EXAMPLES
-
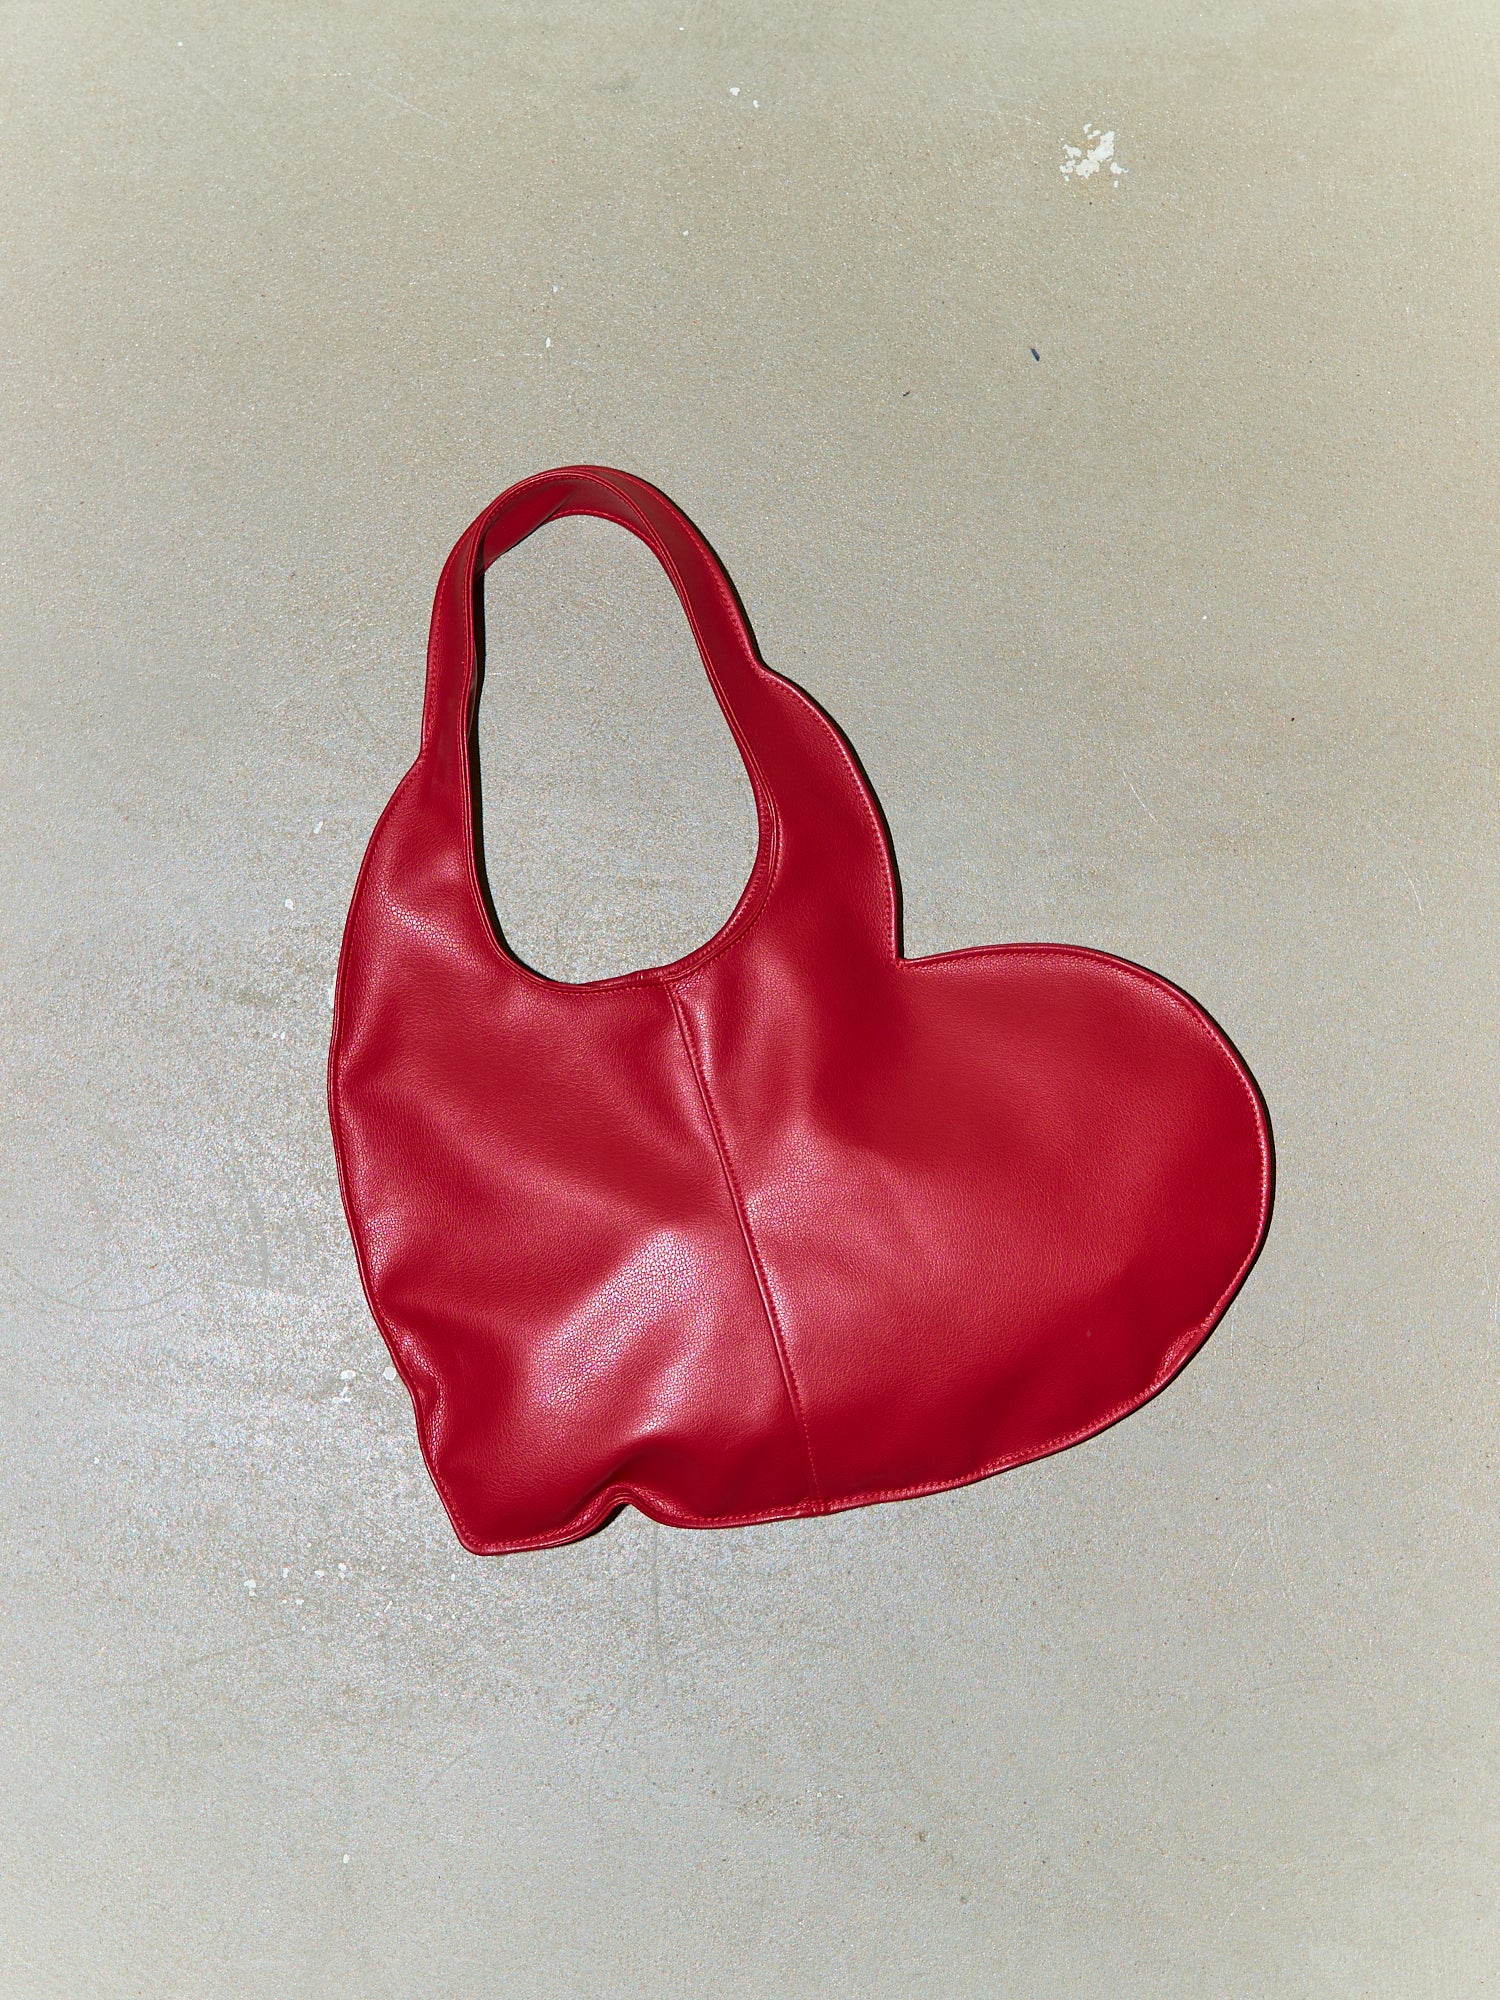
1. Product photo
-
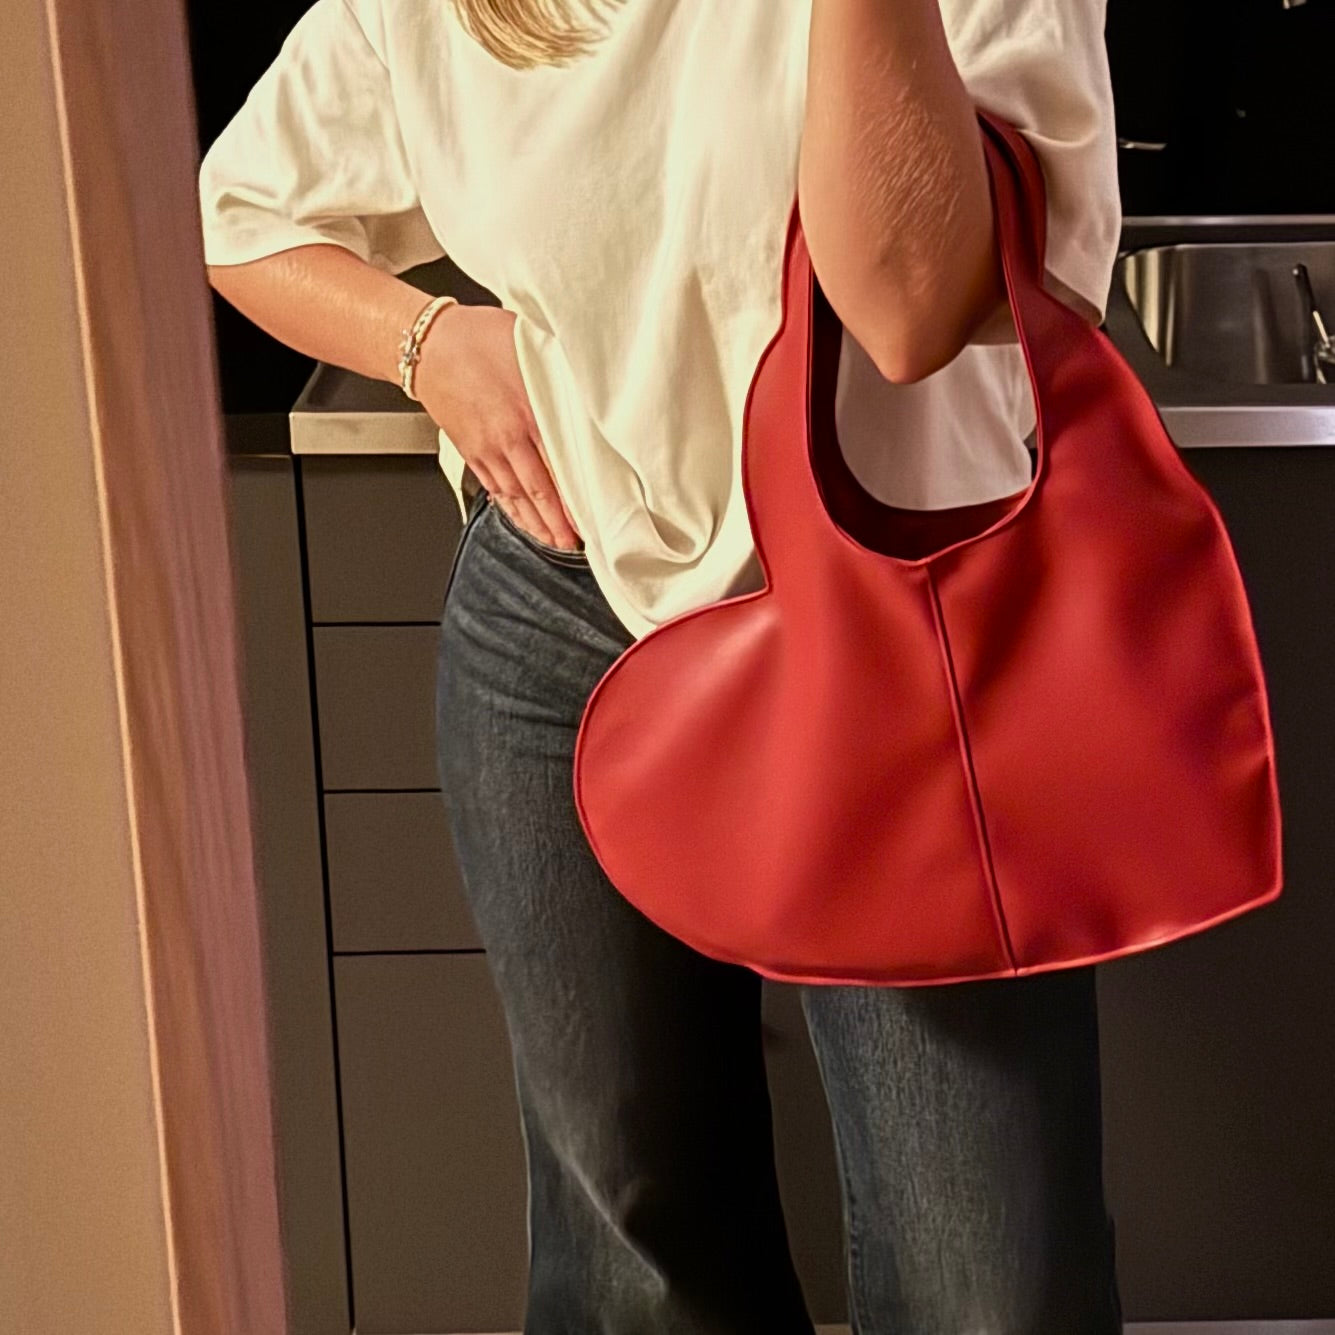
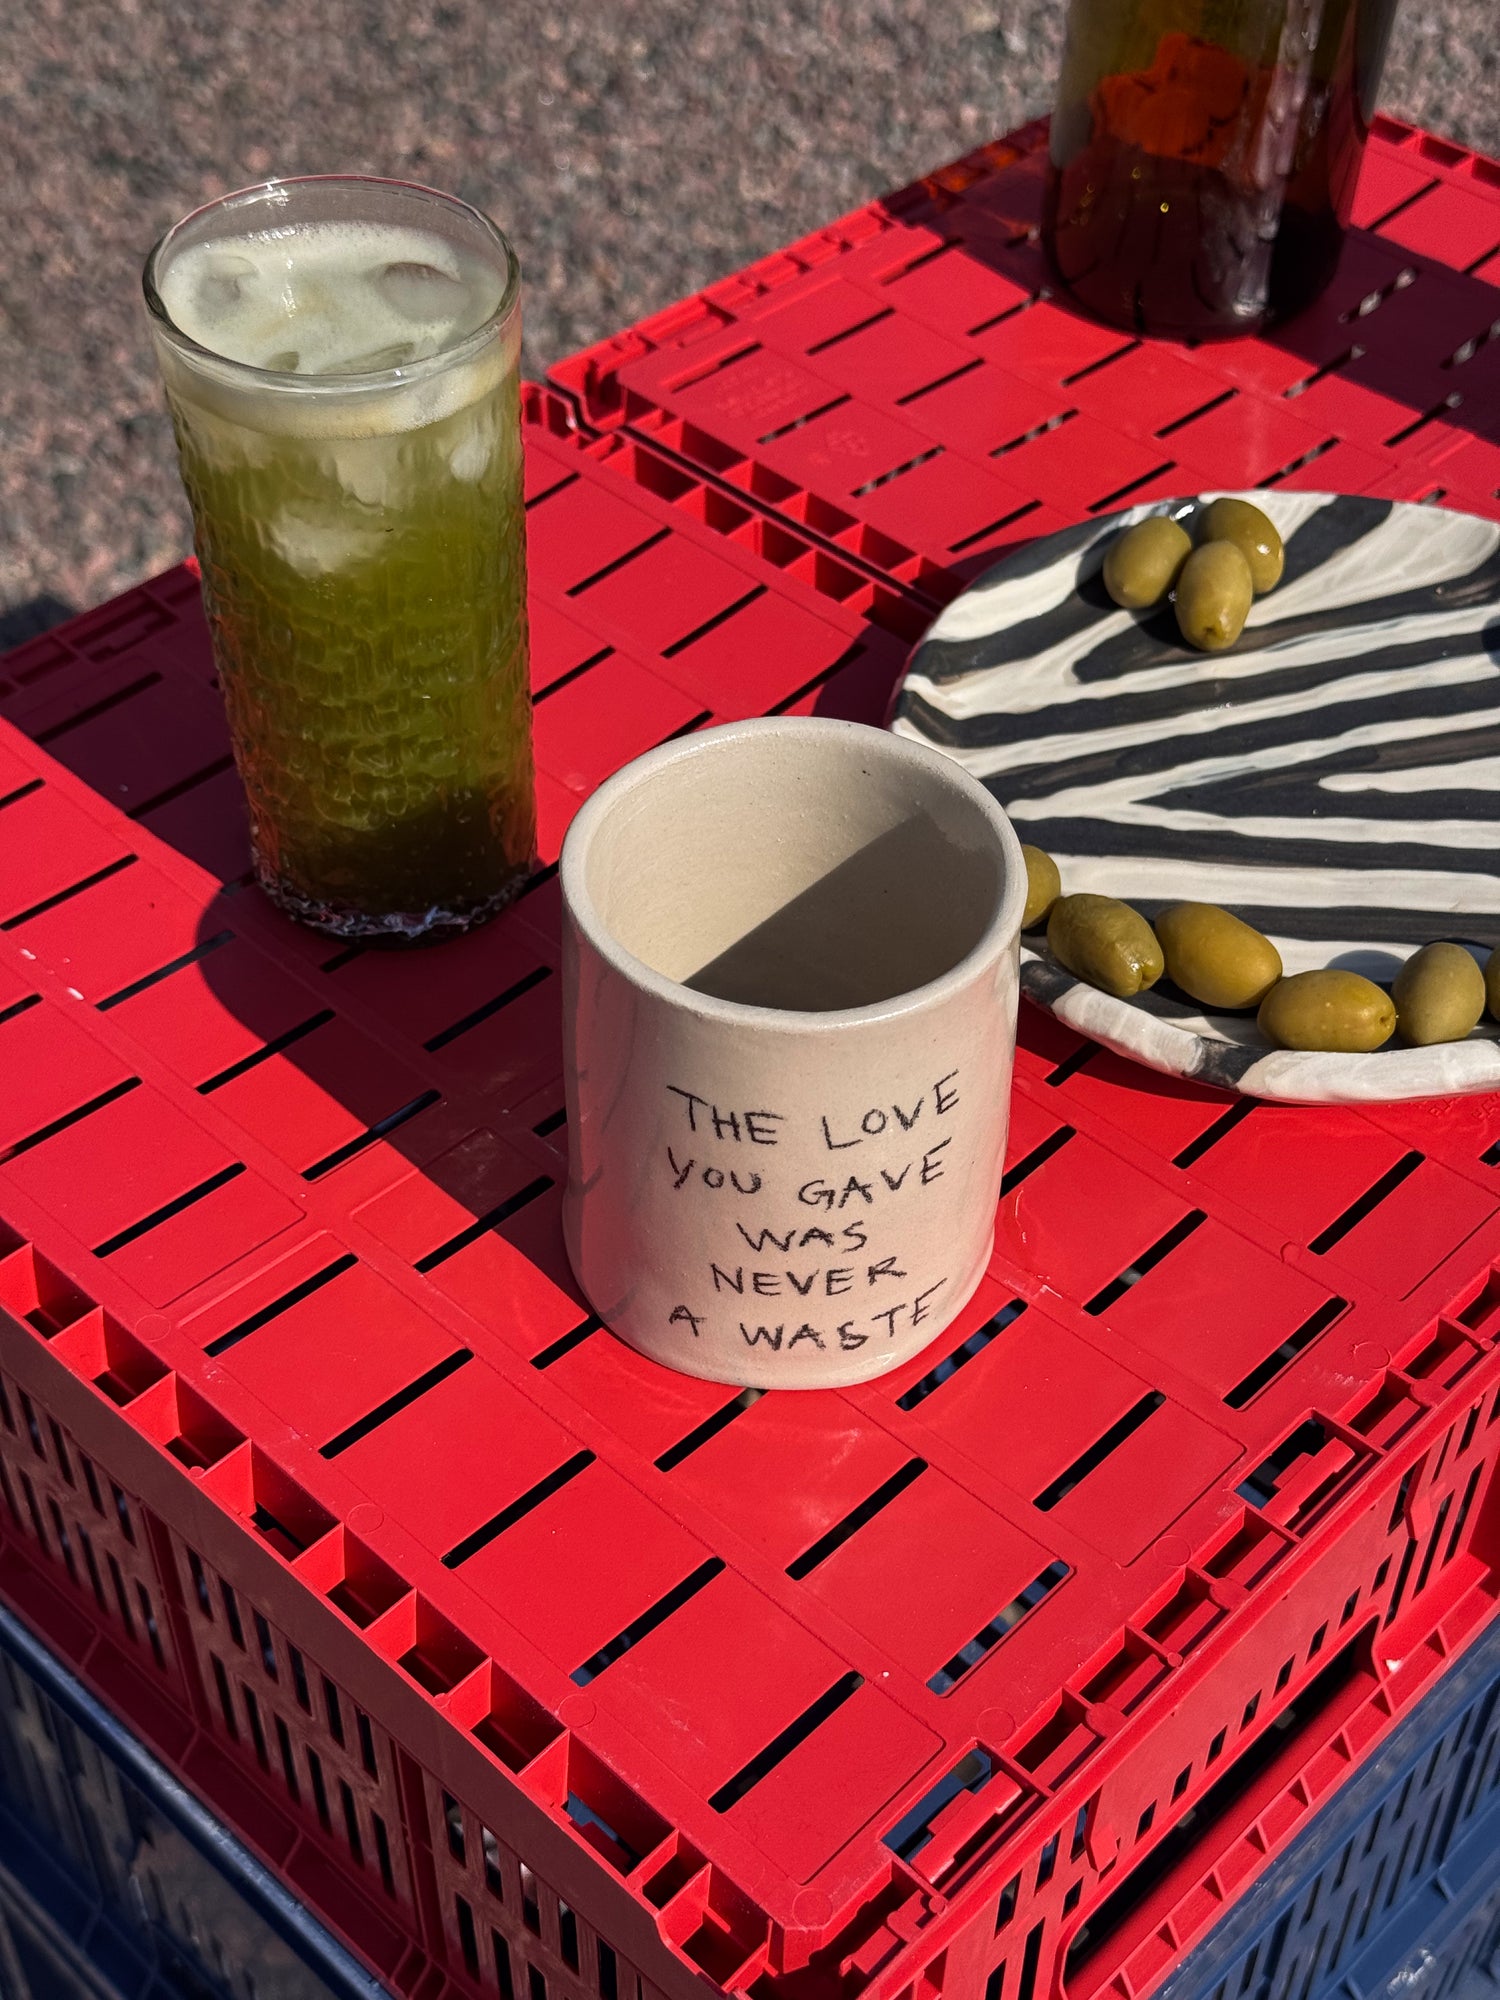
2. Context photos
-
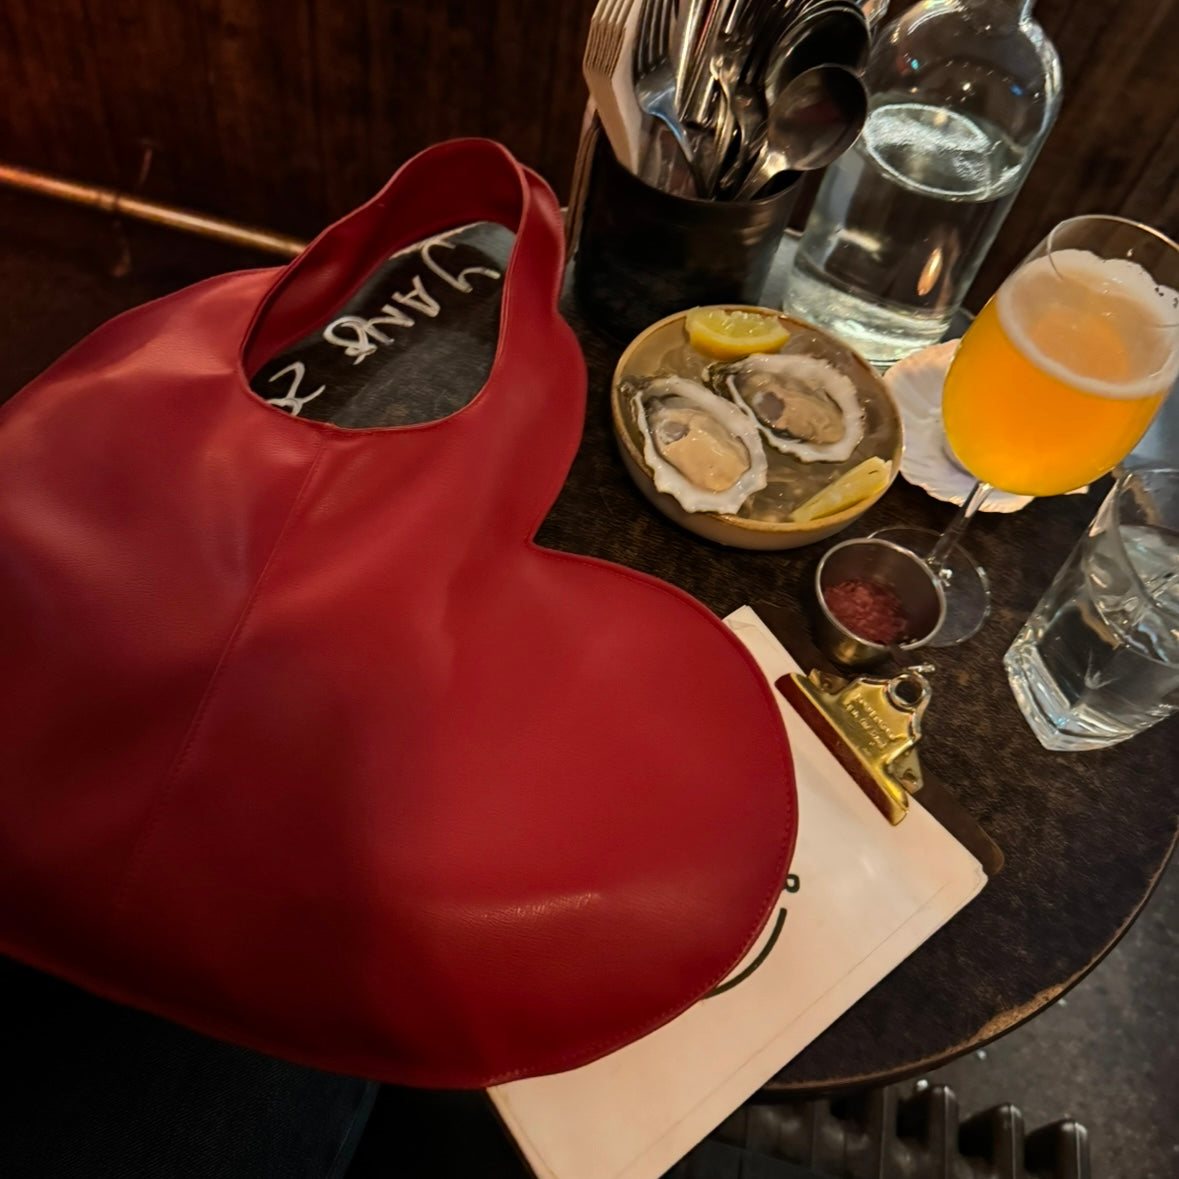
E.g. when the product is being used in different situations
-
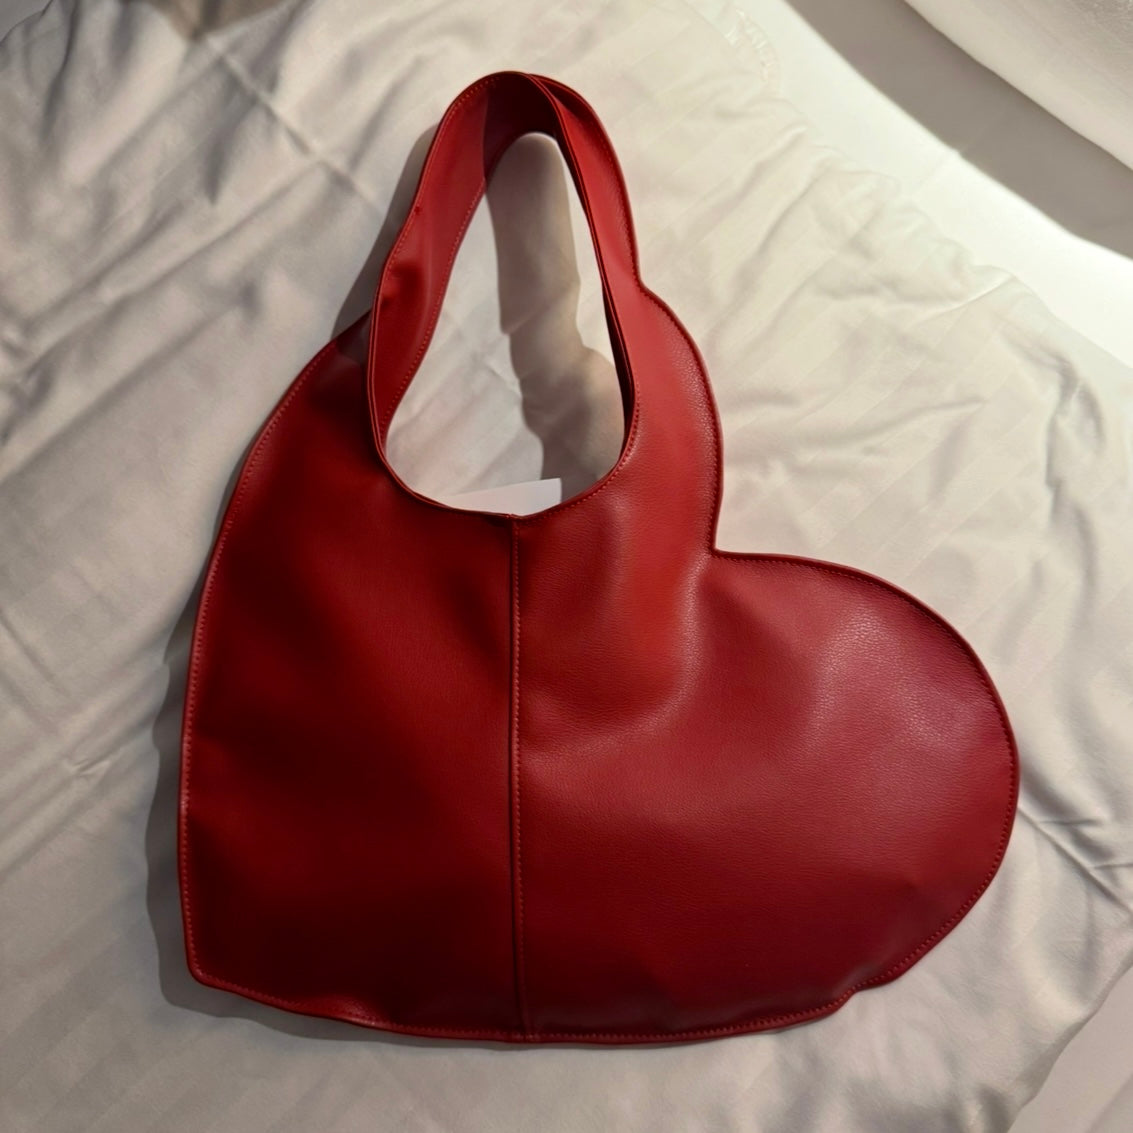
3. Detail photos
-
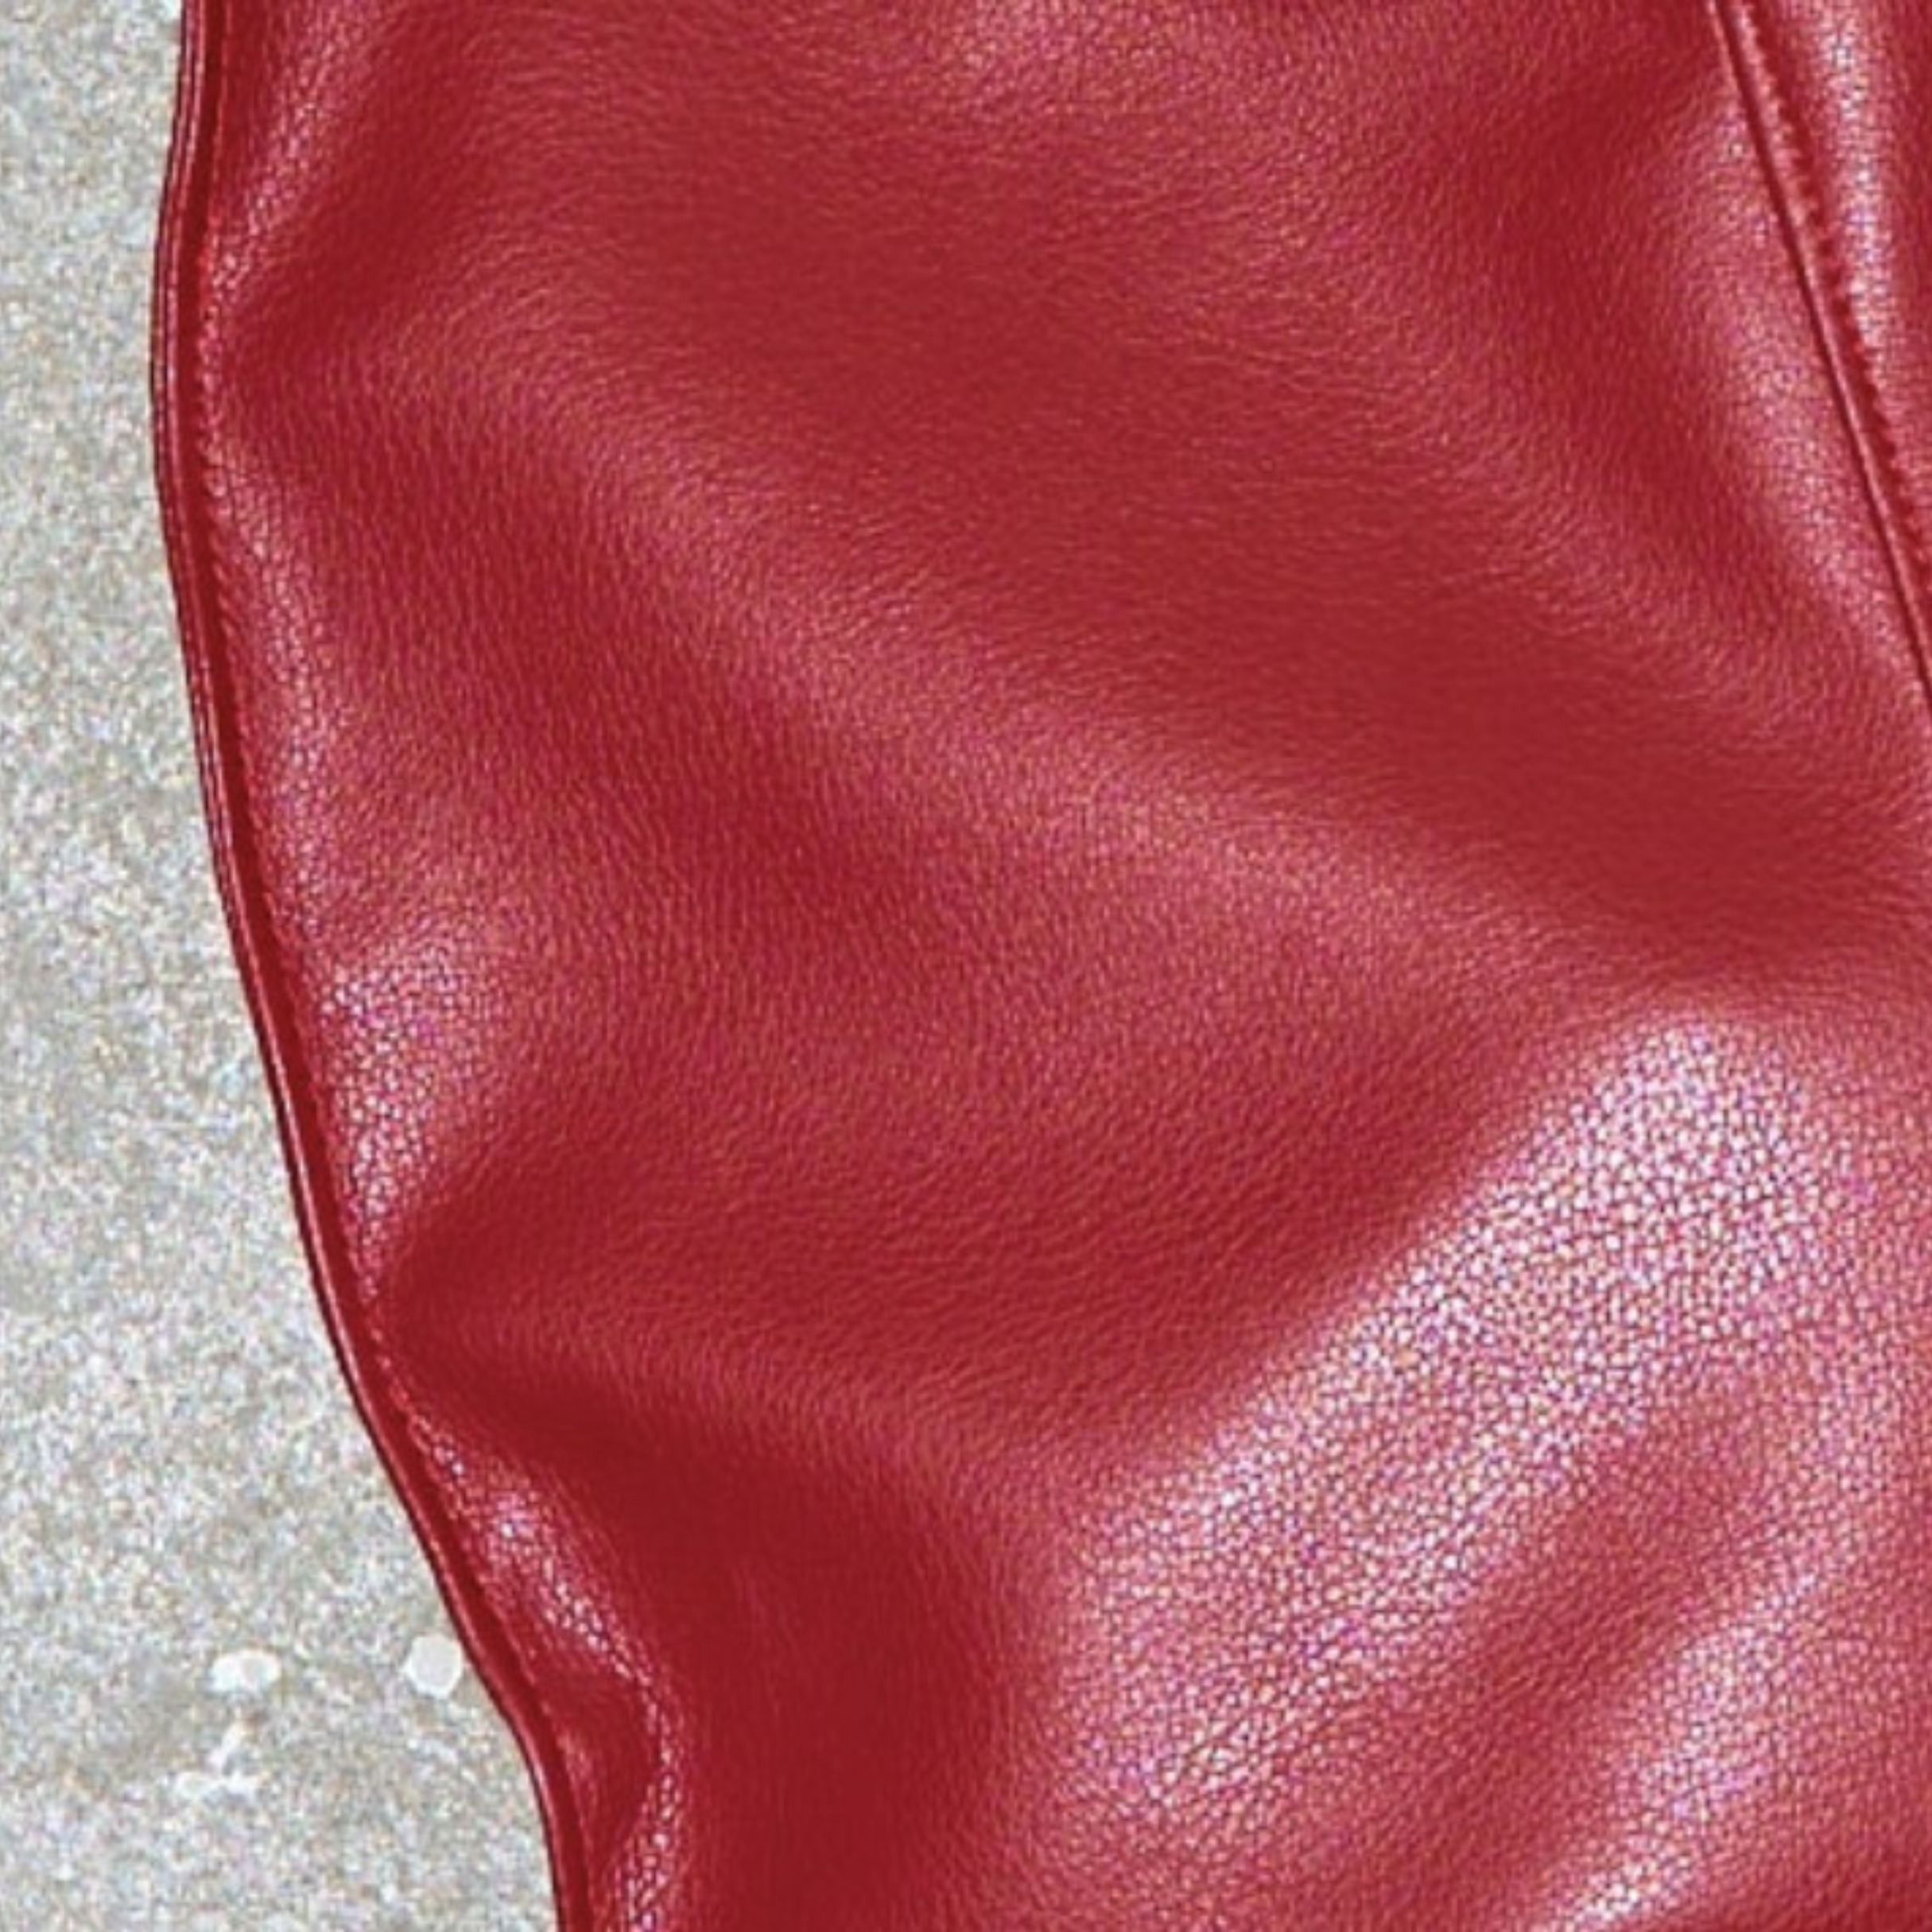
E.g. material close-up
-
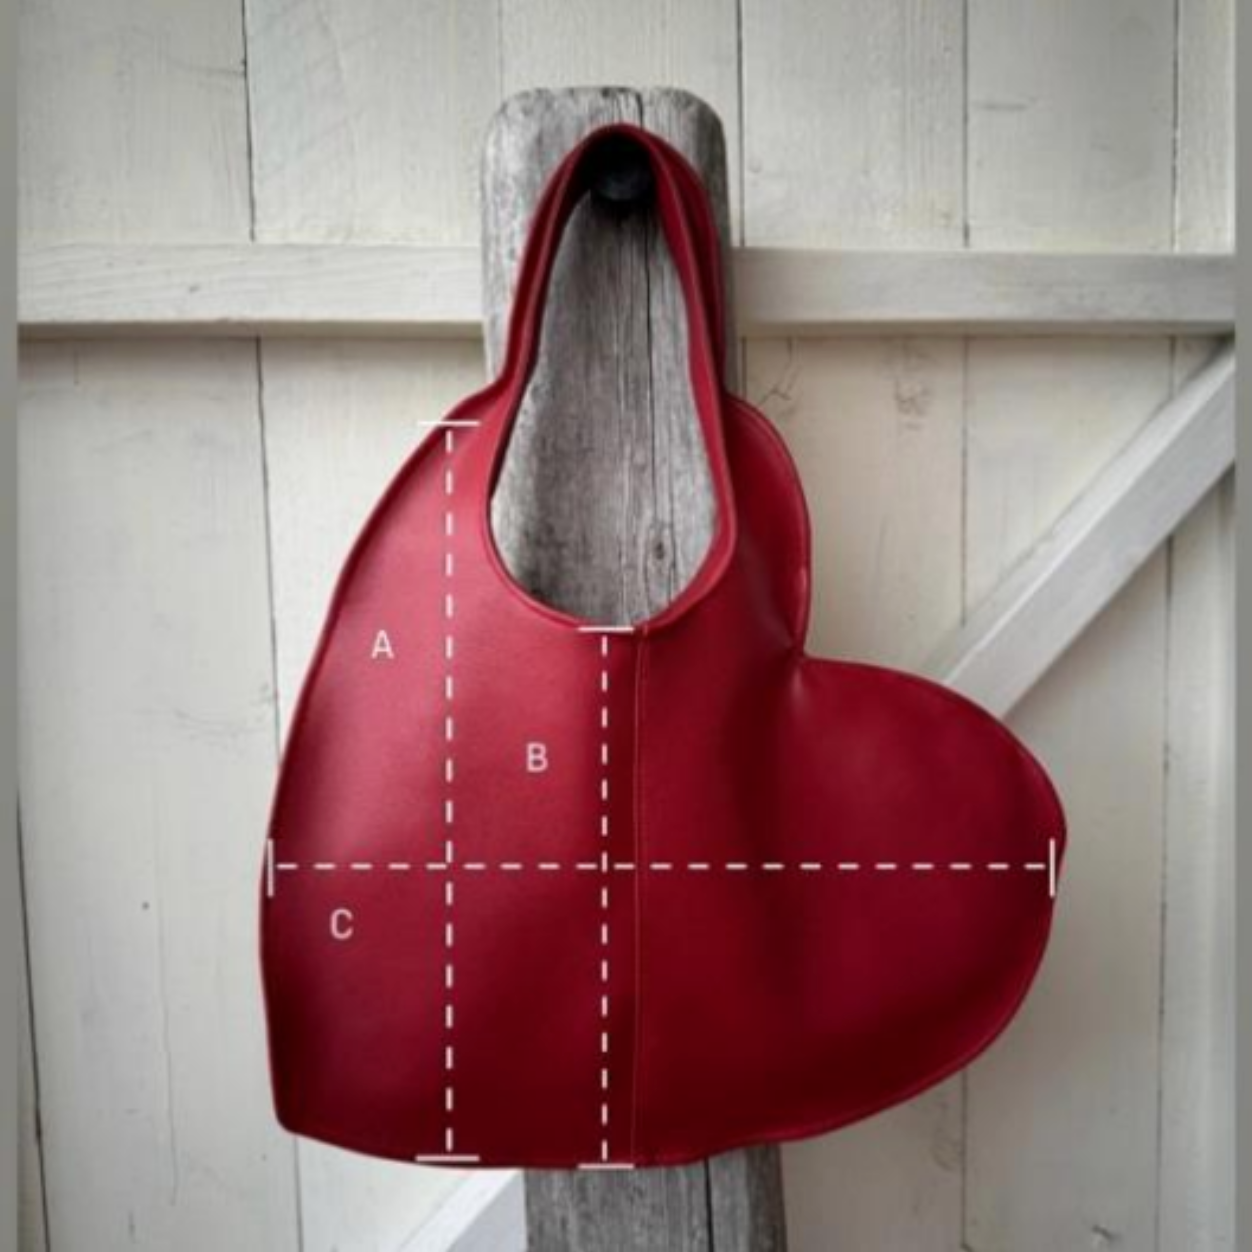
E.g. measurements


